
Mining on PKT on VirtualBox is possible. The biggest benefit of mining on VirtualBox is that you can control RAM, CPUs, and bandwidth.
Moreover, you can install VirtualBox on your Windows, Mac, or Linux operating system and mine PKT on it.
Enough talk, let’s get started.
Mining PKT on Virtualbox Step by Step Guide
Step 1
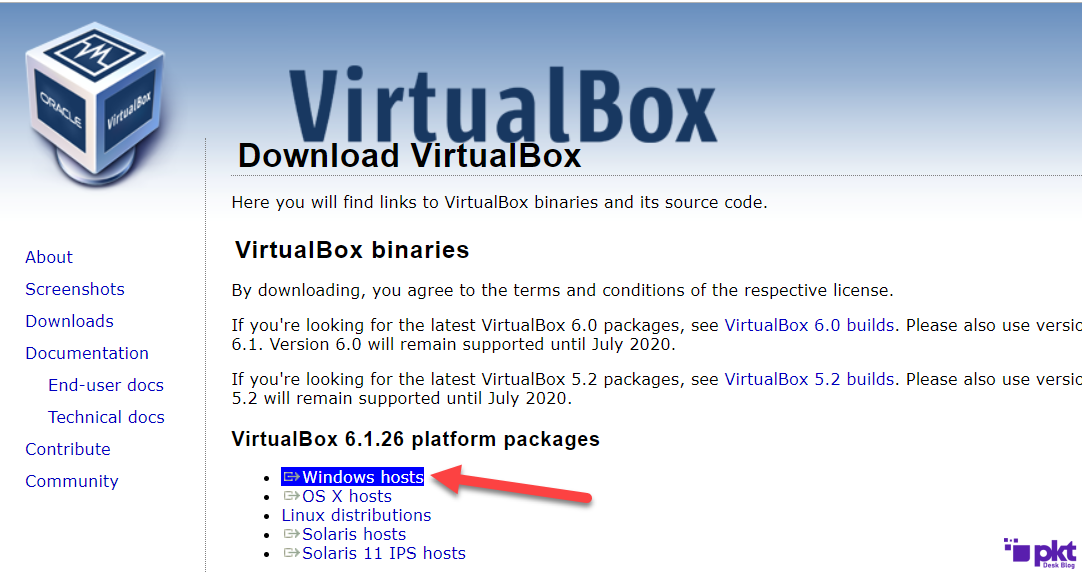
Of course, the first thing is to download VirtualBox for your operating system.
If it’s for Mac, install the Mac version. Otherwise, if you are tech-savvy, go for the Linux version.
Step 2:
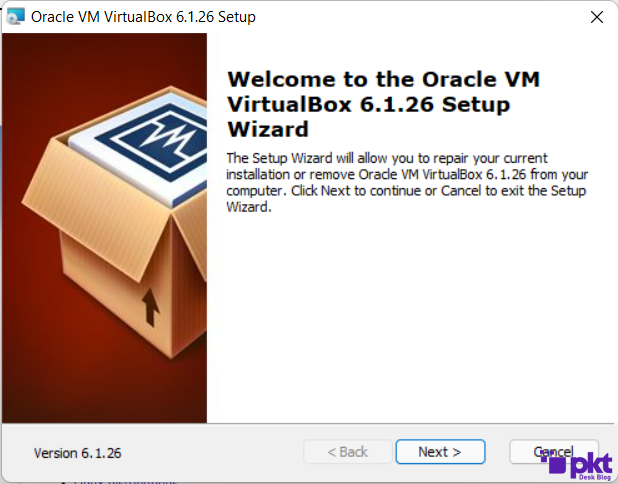
Once you’ve downloaded it, go to Install it. All you need to do is just Next and Next.
Step 3:
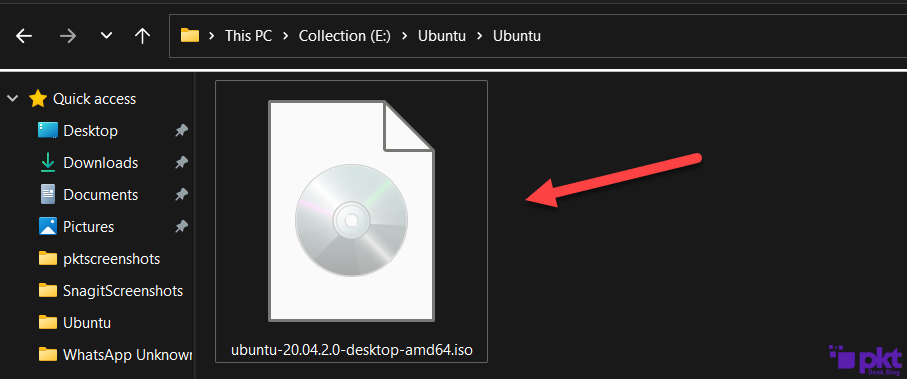
Now it’s time to download the latest version of Ubuntu ISO.
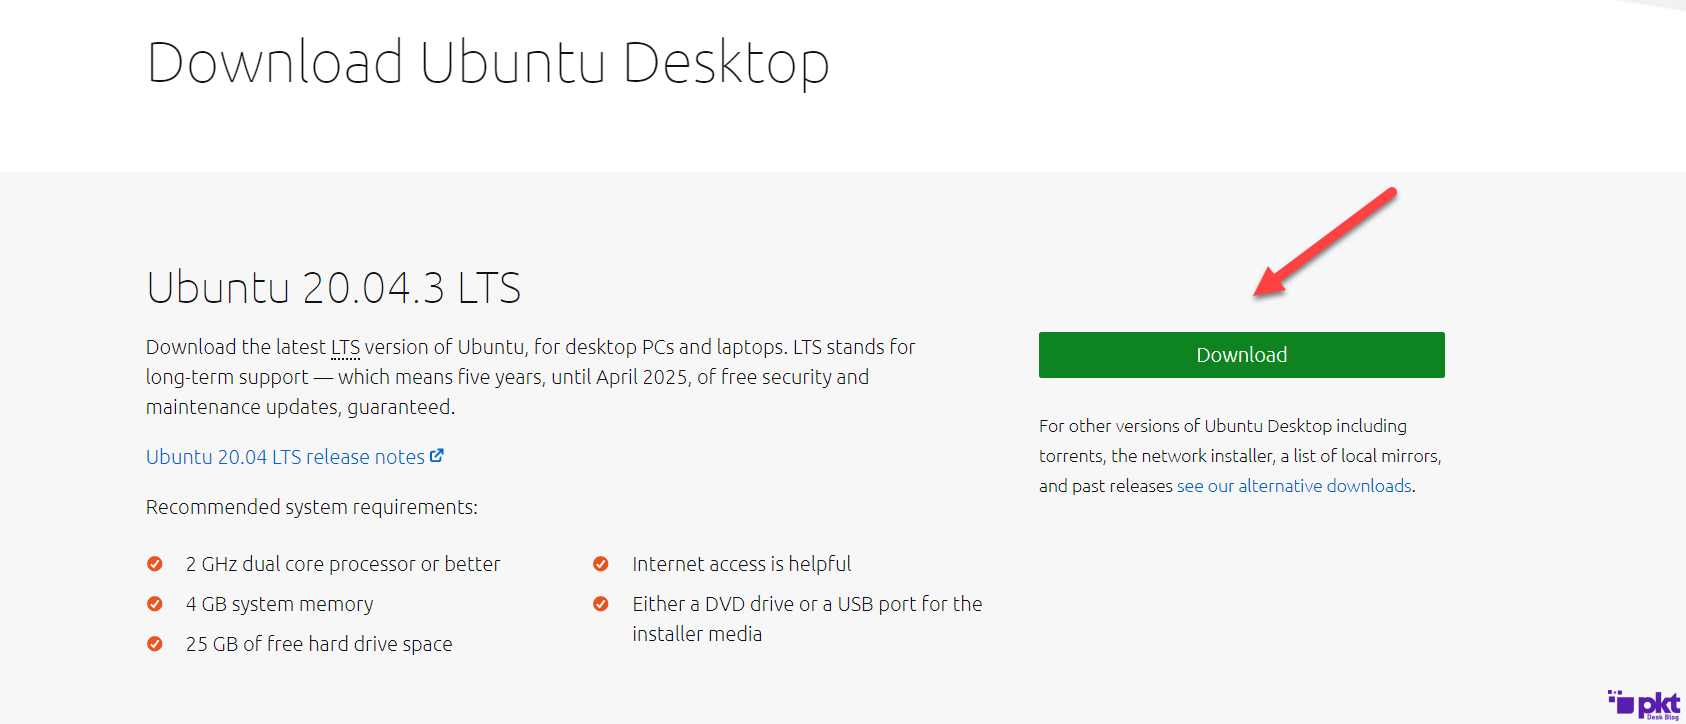
Its size is almost 2.8GB, so depending on your internet connection it might take a while to download the complete file.
Step 4:
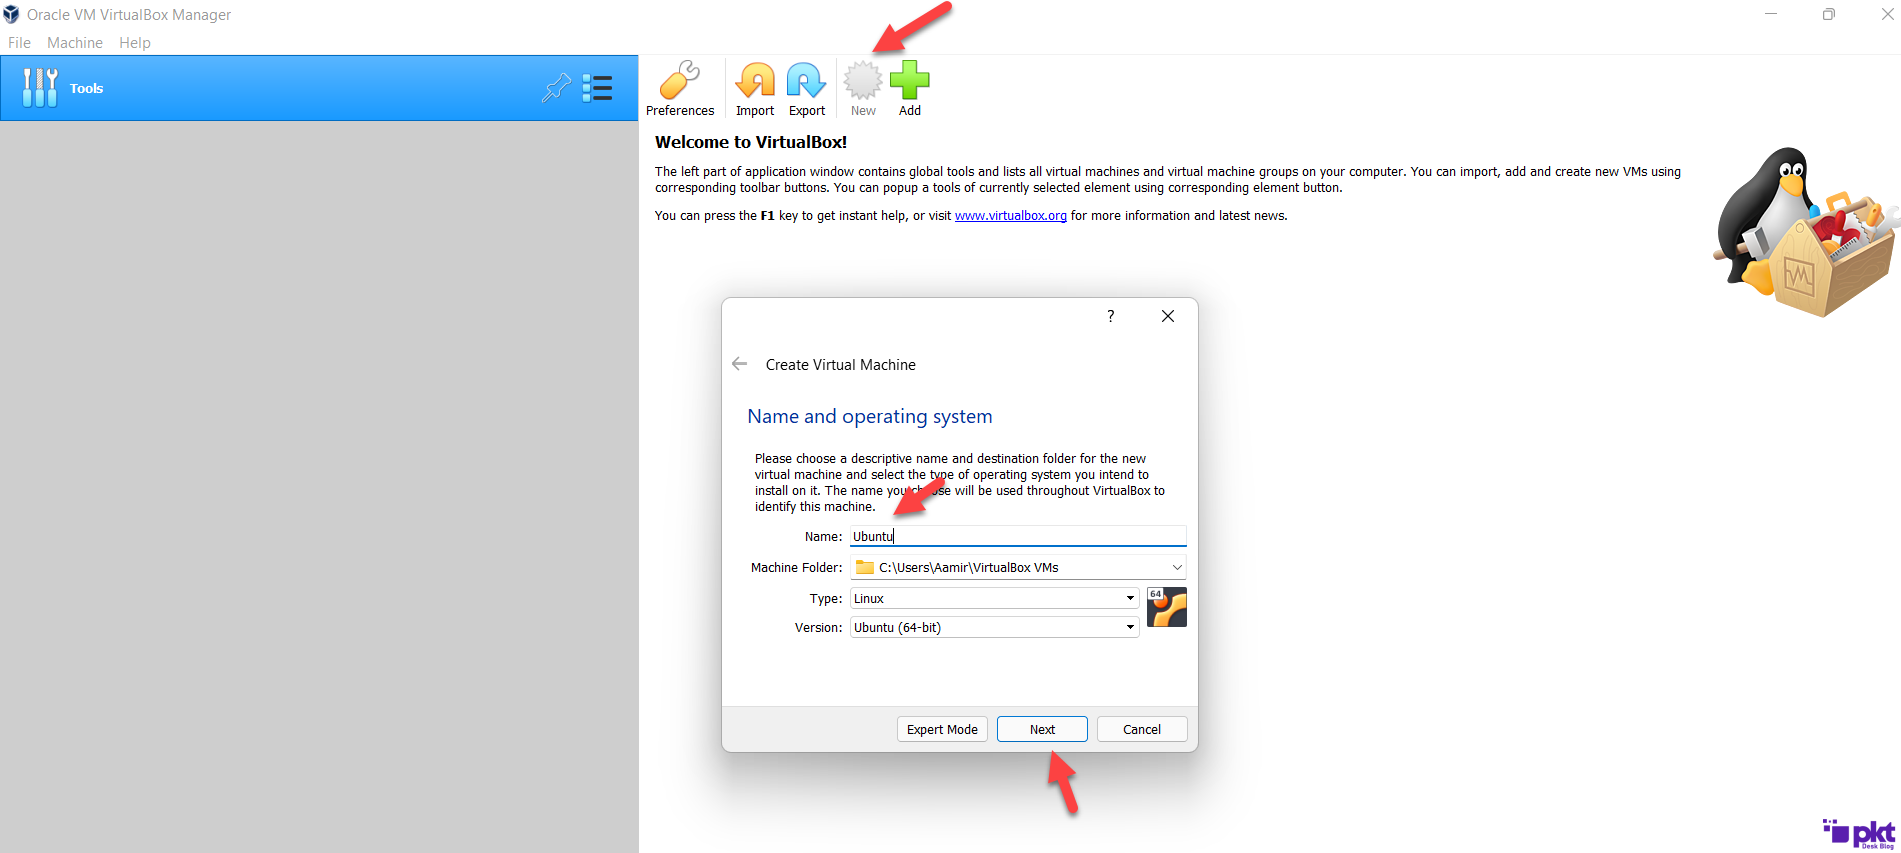
Run Virtualbox, and click the NEW option. Type Ubuntu, Virtualbox will intelligently pick the right Type and Version.
Step 5:
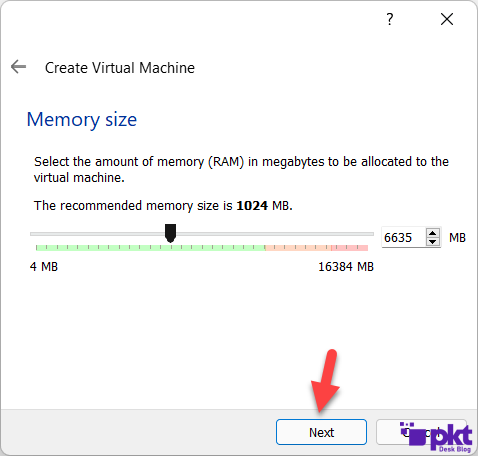
Select the appropriate memory size which is actually the RAM. It’s recommended to keep at least 3 to 4GB of RAM.
Step 6:
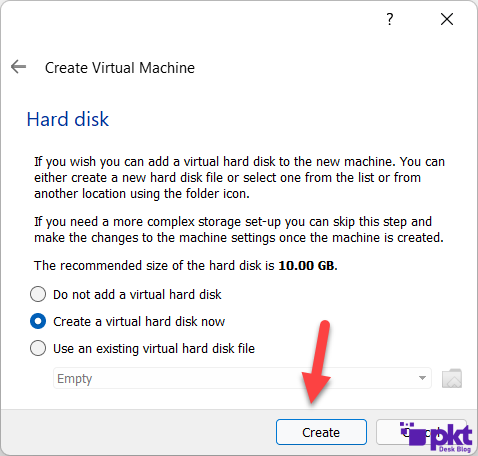
Just select the default option that is actually the “Create a virtual hard disk now”.
Step 7:
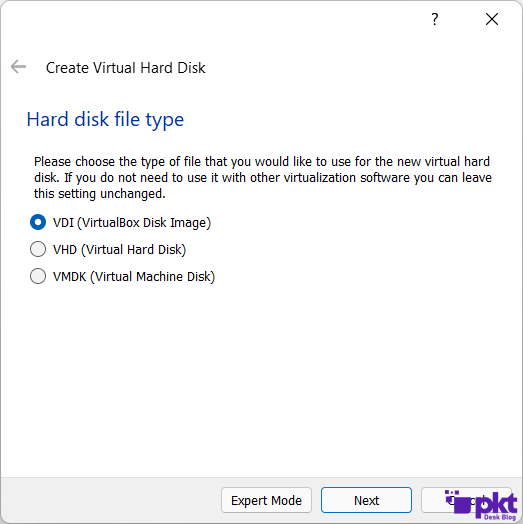
Again choose the default option of VDI.
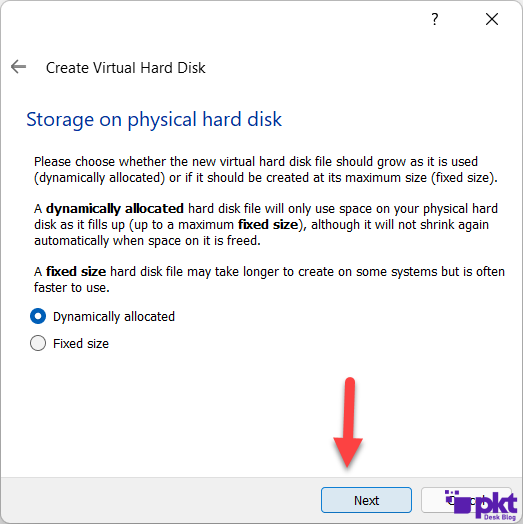
Step 8:
Again the default option. If you don’t have an SSD, it’s recommended to select the Fixed size option.
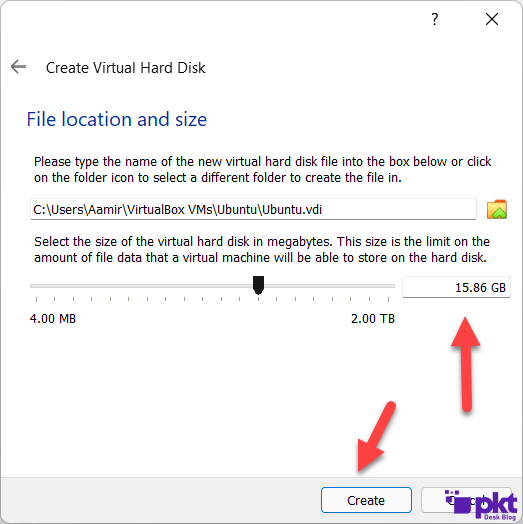
Step 9:
Keep at least 15GB of storage, but it depends on your mood as well.
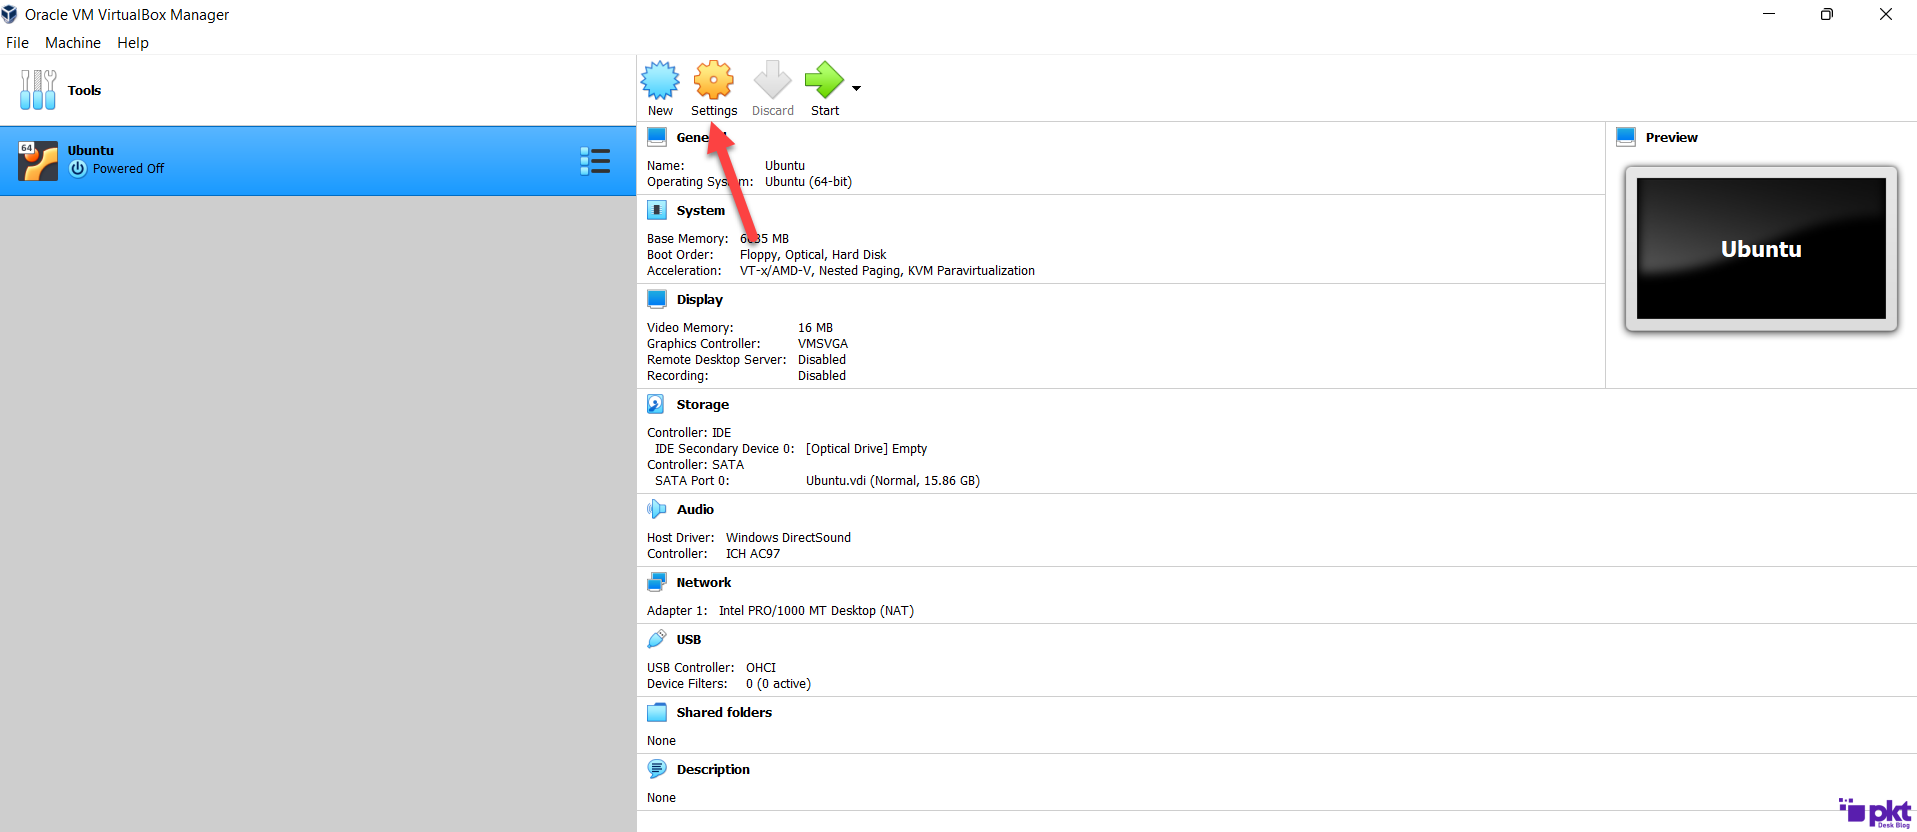
Step 10:
It’s the interface when you’re finished with all the options. Click the Settings icon.
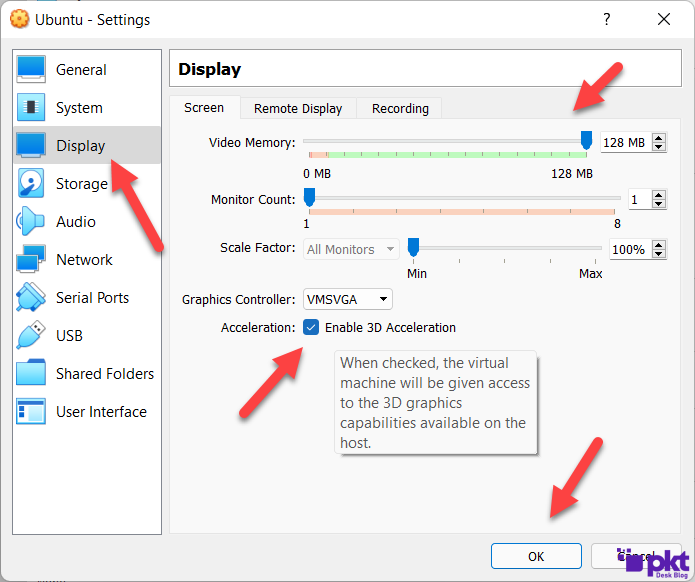
Step 11:
Go to the Display and set the highest memory you can select.
Step 12:
Selecting the Ubuntu ISO
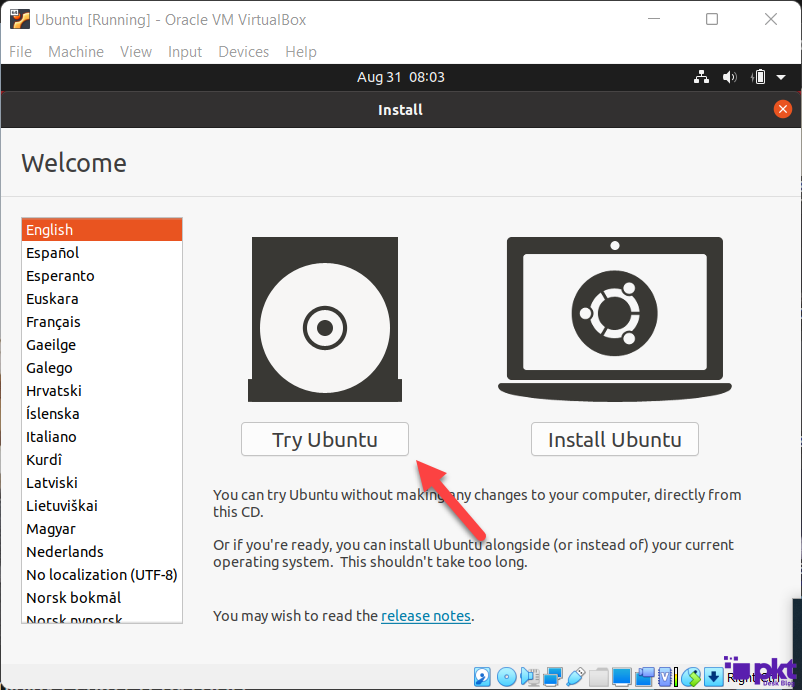
Step 13:
You can install the entire Ubuntu operating system, but it’s not necessary. You can mine PKT even in the Try Ubuntu version.
Step 14:
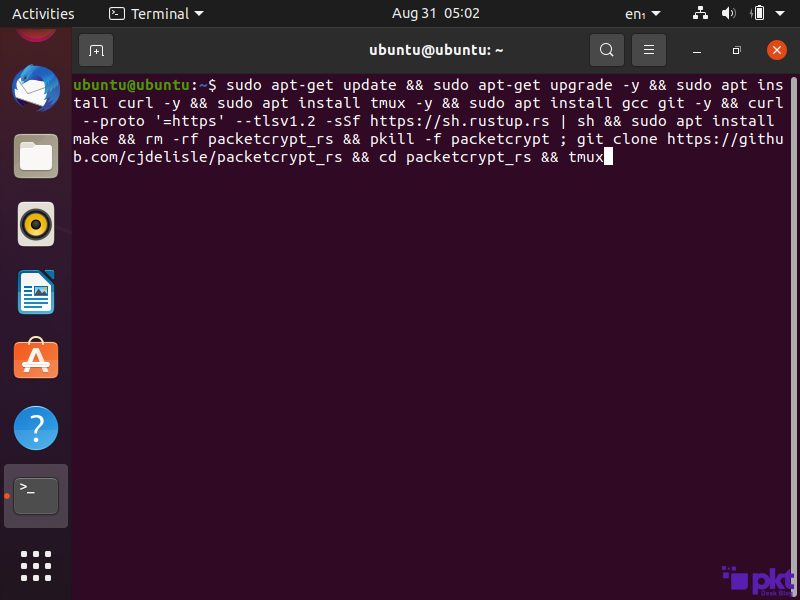
Open Terminal.
Step 15
When you open it, paste the below code. Previously, people had to type the command line one by one, which took a lot of time. Linux is great; it saves time.
sudo apt-get update && sudo apt-get upgrade -y && sudo apt install curl -y && sudo apt install tmux -y && sudo apt install gcc git -y && curl –proto ‘=https’ –tlsv1.2 -sSf https://sh.rustup.rs | sh && sudo apt install make && rm -rf packetcrypt_rs && pkill -f packetcrypt ; git clone https://github.com/cjdelisle/packetcrypt_rs && cd packetcrypt_rs && tmux
Step 16
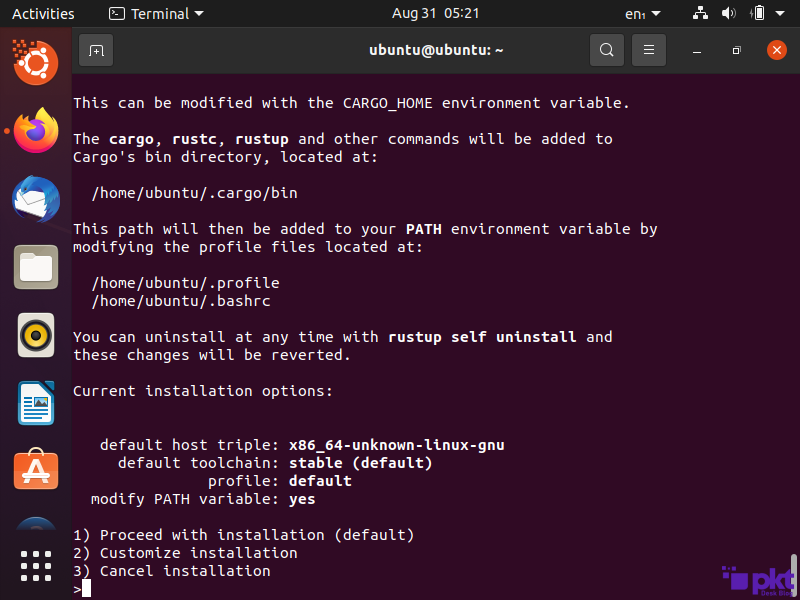
When you see this step that displays:
1) Proceed with the installation
2) Customize installation
3) Cancel Installation.
You don’t need to select any option, just hit the ENTER button.
Step 17
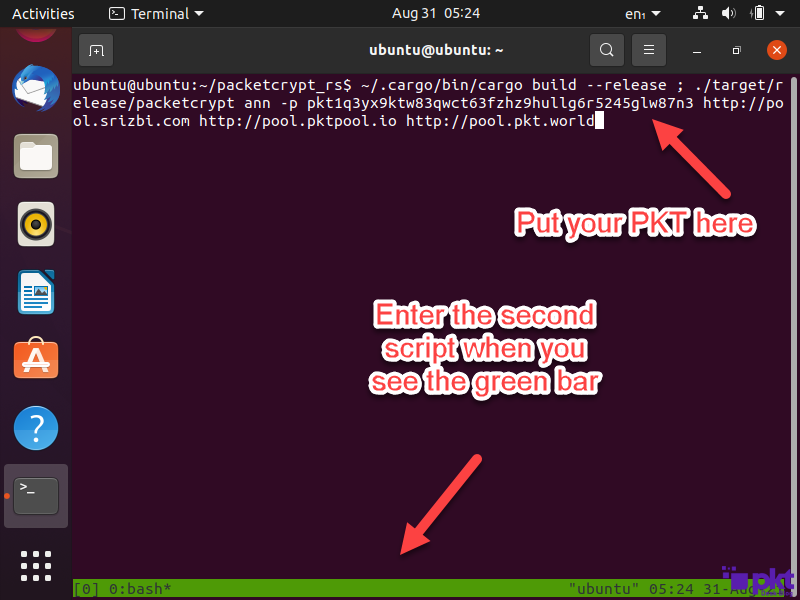
After a few minutes, now paste the second script when you see the green bar. Don’t forget to replace your PKT address with your address.
If you don’t have a PKT wallet address for mining, don’t worry, at the bottom of the article, I showed how you can create a wallet without running any complicated command lines.
I put the pool order that is responsible for giving you the best rewards from mining.
~/.cargo/bin/cargo build –release ; ./target/release/packetcrypt ann -p pkt1q3yx9ktw83qwct63fzhz9hullg6r5245glw87n3 https://stratum.zetahash.com/ http://pool.pktpool.io http://pool.pkt.world
Step 18
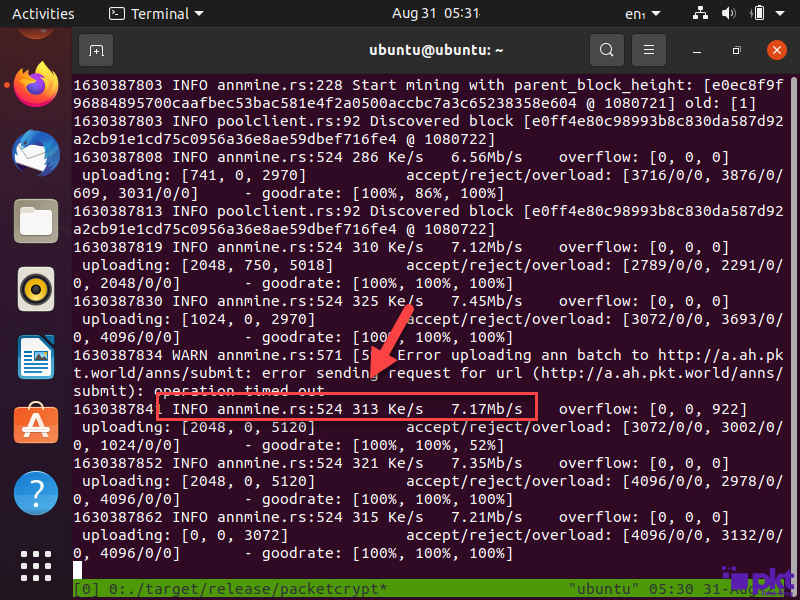
When you see the Ke/s and Mb/s, it means your mining is working fine. That’s it.
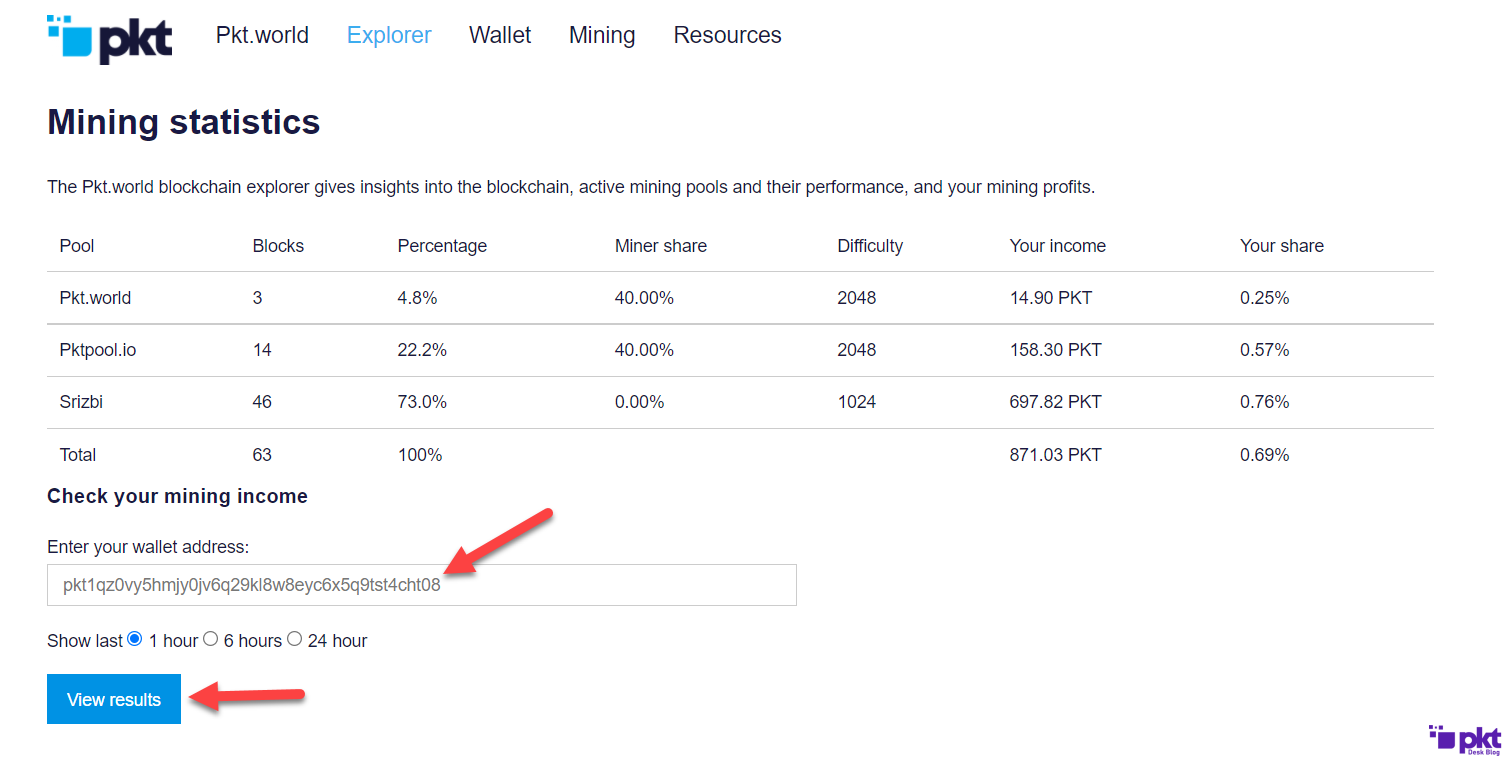
Step 19
In order to check how many coins have you earned, you can visit the PKT explorer and put your PKT address to view your mining stats.
Don’t have a PKT Wallet Address?
Don’t worry, I’ve created an extremely easy guide on creating a PKT wallet address for mining:
- How to Create a PKT Wallet on Windows
- How to Create PKT Wallet on Ubuntu
- How to Create PKT Wallet On Mac
Once you’ve created a PKT wallet address, replace the address mentioned in the second script.
Have a question? Ask below in the comment section.